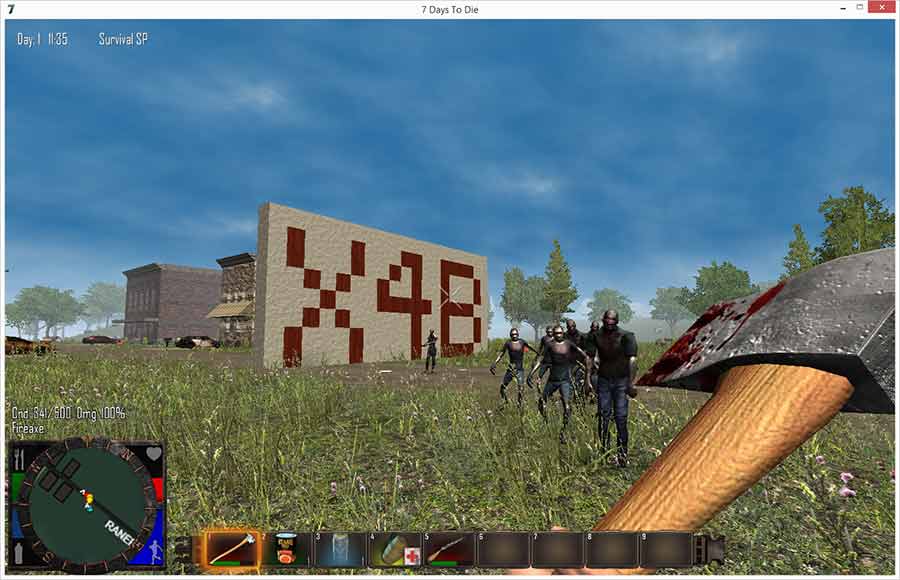
This tutorial will explain how to setup and configure a DDoS protected 7 Days to Die (7DtD) server. This guide assumes you have already running and access to your 7DtD server you wish to protect.
Step 1: Backend Setup
Setup 7DtD on your server, this server will be from here on referred to as the "backend server". On the backend server you may use whichever Operating System you are most familiar with, however if unsure we recommend Debian Linux.
Please ensure that the service is running and connectible on the backend server.
Step 2: Purchase DDoS Protection Service
Pick a suitable package from the DDoS protection page. We suggest choosing one geographically close to your server location (or your primary user base). We offer numerous locations in the United States and Europe.
During the purchase process you will be asked to:
- Name your service (important if you plan to have many)
- Select the filtering location (choose a location close to your backend server)
- Select an appropriate DDoS protection threshold (choose a value big enough to handle your expected attacks)
- Select the amount of Clean Bandwidth required to run your service (not attack traffic)
Step 3: Encapsulation Setup (Optional)
This step is only required if you are intending to use a GRE, IP-in-IP or IPSec Tunnel. If you are intending to use a Reverse Proxy (RP) style connection (the easiest) then you can skip this step.
A Reverse Proxy only proxies connections to your backend and can be useful for servers that do not require to set bans on player IP addresses or do not have command line skills to set up a network interface (or when using a panel that does not give access to console).
An encapsulated backend requires support on the Backend Server, currently Windows and Linux Operating Systems are fully supported, with partial support for FreeBSD. Most Enterprise or even SOHO Routers also support GRE or IP-in-IP tunneling, if supported you may be able to configure the router to terminate the encapsulated network.
Encapsulated networks can be created from your services "Tunnels" page, the link for which can be found in its Action menu. To create a Tunnel you need to specify the backend servers IP address, as well as depending on the encapsulation type chosen security keys (GRE) or passphrases (IPSec PSK). If unsure as to the appropriate encapsulation type we recommend using GRE. Alternatively to the form in your dashboard you may also use the form below to create a tunnel, just input details for your backend server and select your service.
We provide scripts / software to install the encapsulated tunnel onto your backend server in the Dashboard. On your services Tunnels page you should see the list of tunnels which have been created. In the action menu for the tunnel there is a page titled "Setup Tunnel", here you can download the provided Linux setup script, or the Windows tunneling software with your configuration built-in.
For more information on GRE/IP-in-IP/IPSec Tunnels including installation instructions click here.
Setup 7DtD server for Tunnel communication
The 7DtD server does not include an option to bind to a specific interface, in this case it is not possible to directly bind to the filtered tunnel. As is this is requirement due to the networking method used internally a LD_PRELOAD injected shared object must be used to introduce this functioanlity. A guide for this can be found here. Follow this guide to compile and install the shared object. Currently (Alpha8) the Dedicated server version used on Linux is usually 32bit, and hence the LD_PRELOAD shim should be compiled for 32bit Linux.
The shim can be included in the default management scripts by editing
/usr/local/lib/7dtd/commands/start.shFind the line starting with:
LD_LIBRARY_PATH=$SDTD_BASE/linux_files LC_ALL=C $SSD [...]
Replace this with:
LD_LIBRARY_PATH=$SDTD_BASE/linux_files LC_ALL=C BIND_ADDR="10.17.24.12" LD_PRELOAD=/usr/lib/bind32.so $SSD [...]
Where 10.17.24.12 is the internal IP address of your backend. This can be retreived using ifconfig.
# ifconfig gre2
gre2 Link encap:UNSPEC HWaddr 6C-3D-CF-72-00-00-B0-B6-00-00-00-00-00-00-00-00
          inet addr:10.17.24.14 P-t-P:10.17.24.14 Mask:255.255.255.252
          UP POINTOPOINT RUNNING NOARP MTU:1180 Metric:1
          RX packets:30826 errors:0 dropped:0 overruns:0 frame:0
          TX packets:41206 errors:0 dropped:0 overruns:0 carrier:0
          collisions:0 txqueuelen:0
          RX bytes:2782629 (2.6 MiB) TX bytes:6674435 (6.3 MiB)
Step 4: Add Ports
Add the ports required to run your service. In this case, the port range for 7DtD servers is 25000 25003 and communication occurs over the UDP protocol. If unsure you can determine what port(s) the service bound to by using the ss or netstat commands as appropriate.
There is a form in the dashboard for creating ports, this can be found in your services action menu as the "Ports" page. To add a port click the "Add Port" button towards the bottom of the page. Then fill the created form with the values you can see below in the example / integrated form. Alternatively, you can also use the form below to create the port for your service, just configure the appropriate backend by either:
- Selecting the Encapsulated Type, and then the appropriate Tunnel (as created in Step 2); or
- Entering a Backend IP address for a Reverse Proxy style port.
Step 5: Finish & Test
Once all steps are completed and the progress bar for deployment of the configuration reaches 100% you should be able to connect to your service on your Filtered IP.
This Filtered IP is the address that you should use in any DNS names, or supply to any connecting users. All traffic which arrives at configured ports on a Filtered IP will be filtered for attack, and then forwarded to your configured backend server.
Note: If you (or your network provider) run a firewall either ensure the Backend Communication address (unless otherwise specified, your filtered IP) is whitelisted or that the firewall is disabled.
Have fun Survivalists!

